
Demystifying Board Games: Die Cutting


The ‘Output Preview’ panel from Adobe Acrobat showing that the “DIE LINE” layer is created in a SPOT colour which allows it to be easily separated from the artwork beneath.
I thought it'd be interesting to take a look at some of the behind the scenes stuff that takes place during the development and production of our favourite board games. This post is intended to be the first in a series that demystifies what happens between handing off the game’s press files getting it the table for that first play.
As a graphic designer, one of the things I do on a regular basis is create 'die lines' for various elements of the games I work on. In the manufacturing process, die lines are essentially guides that the printer can use to ensure the correct layout and presentation of the final product. Die lines are usually placed on a separate layer and can be used as guides for cut lines, fold lines, embossing, and spot treatments like ultraviolet varnishes (UV). But what happens to this ‘digital’ line that I’ve created to turn it into something that can be used to cut out custom tokens and other components?
A Token History
Shaped cardboard tokens and components play a central role in the vast majority of tabletop games, but have you ever asked yourself how exactly do they make all those cuts on the boards we take so much pleasure in punching? You might think the easiest way to do it would be to laser cut the sheets of paper and cardboard, but in-fact, the process is much more analogue than that and has some pretty old roots.
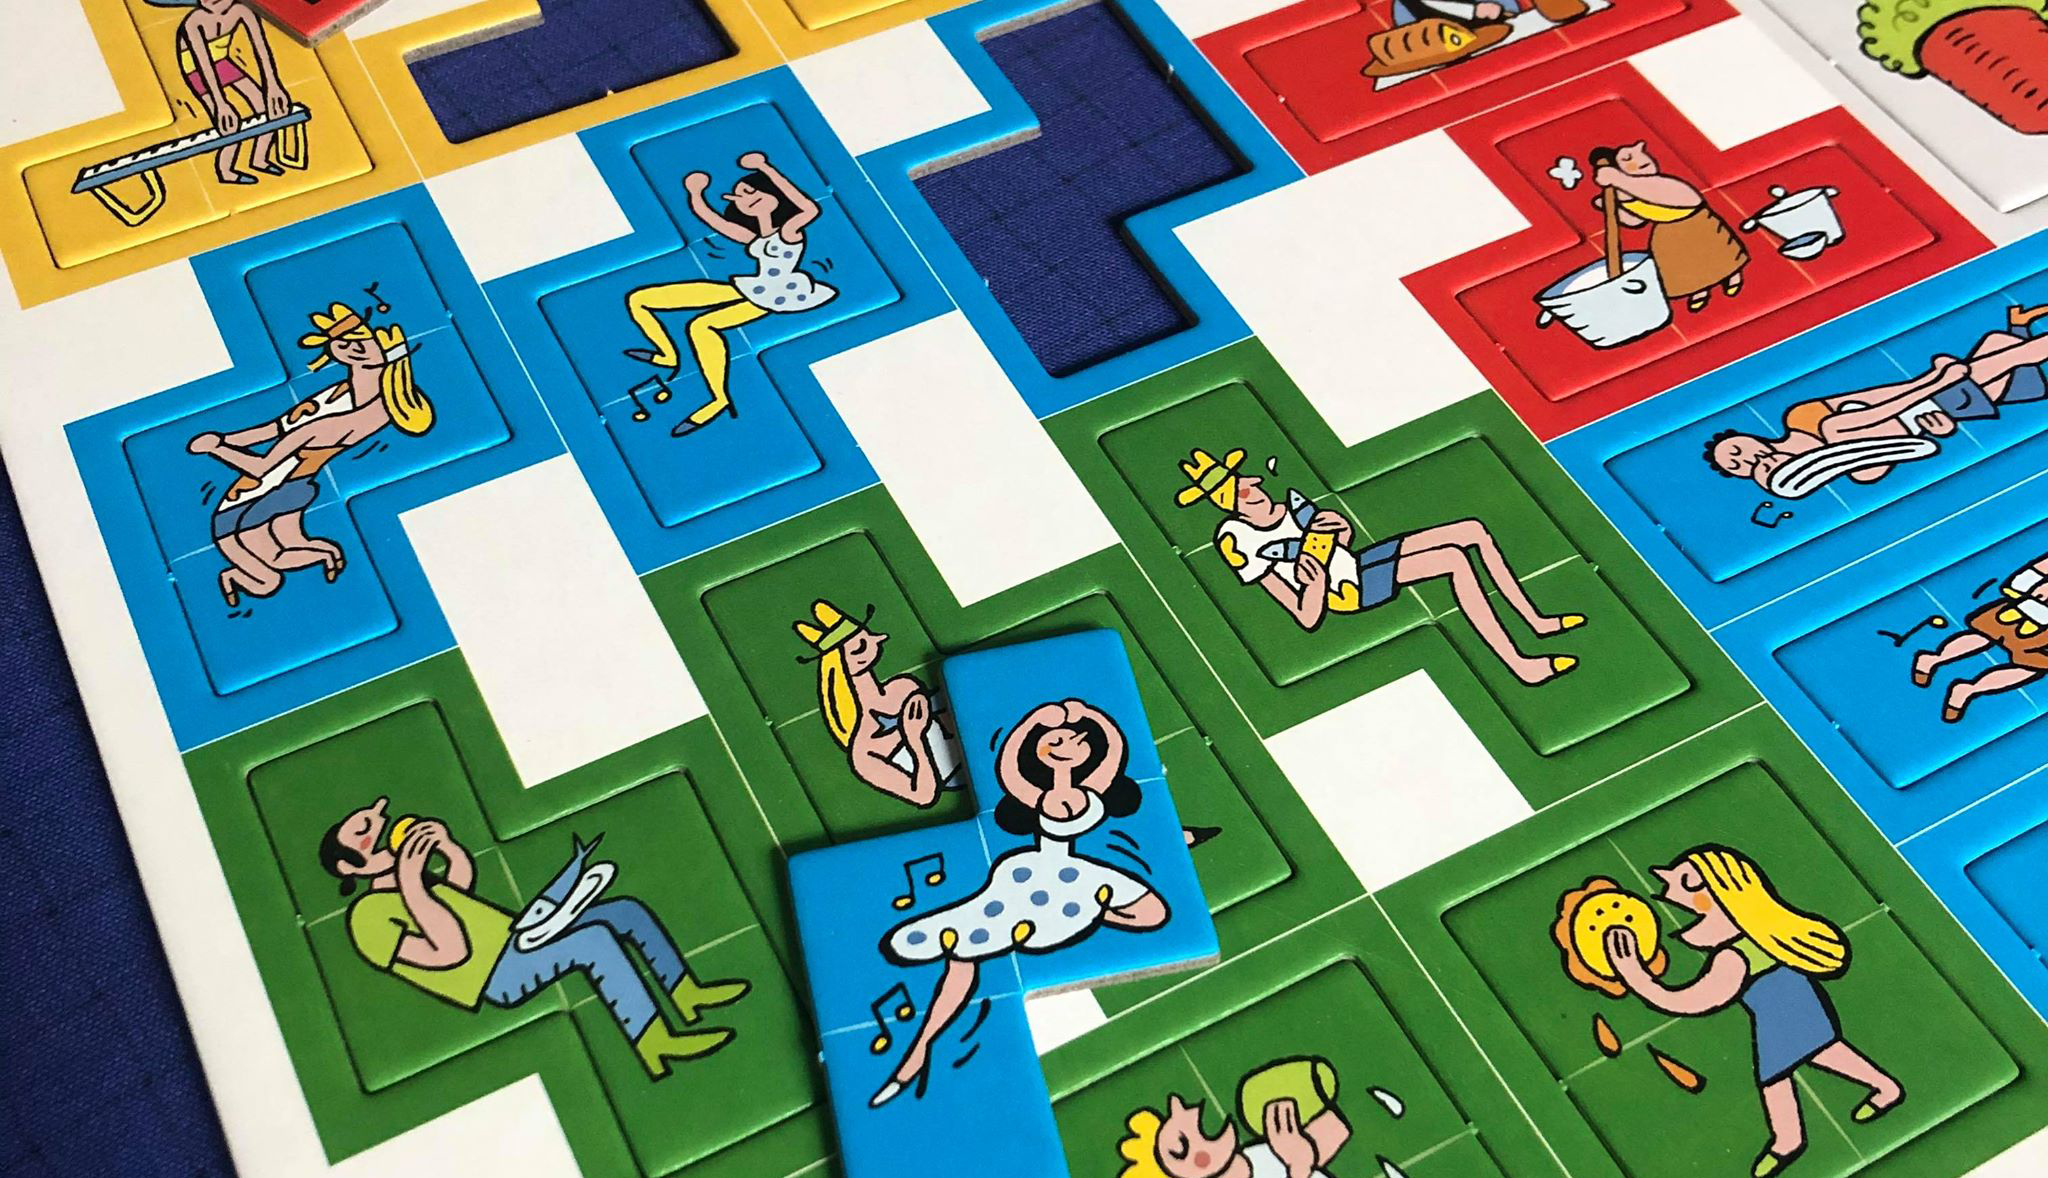
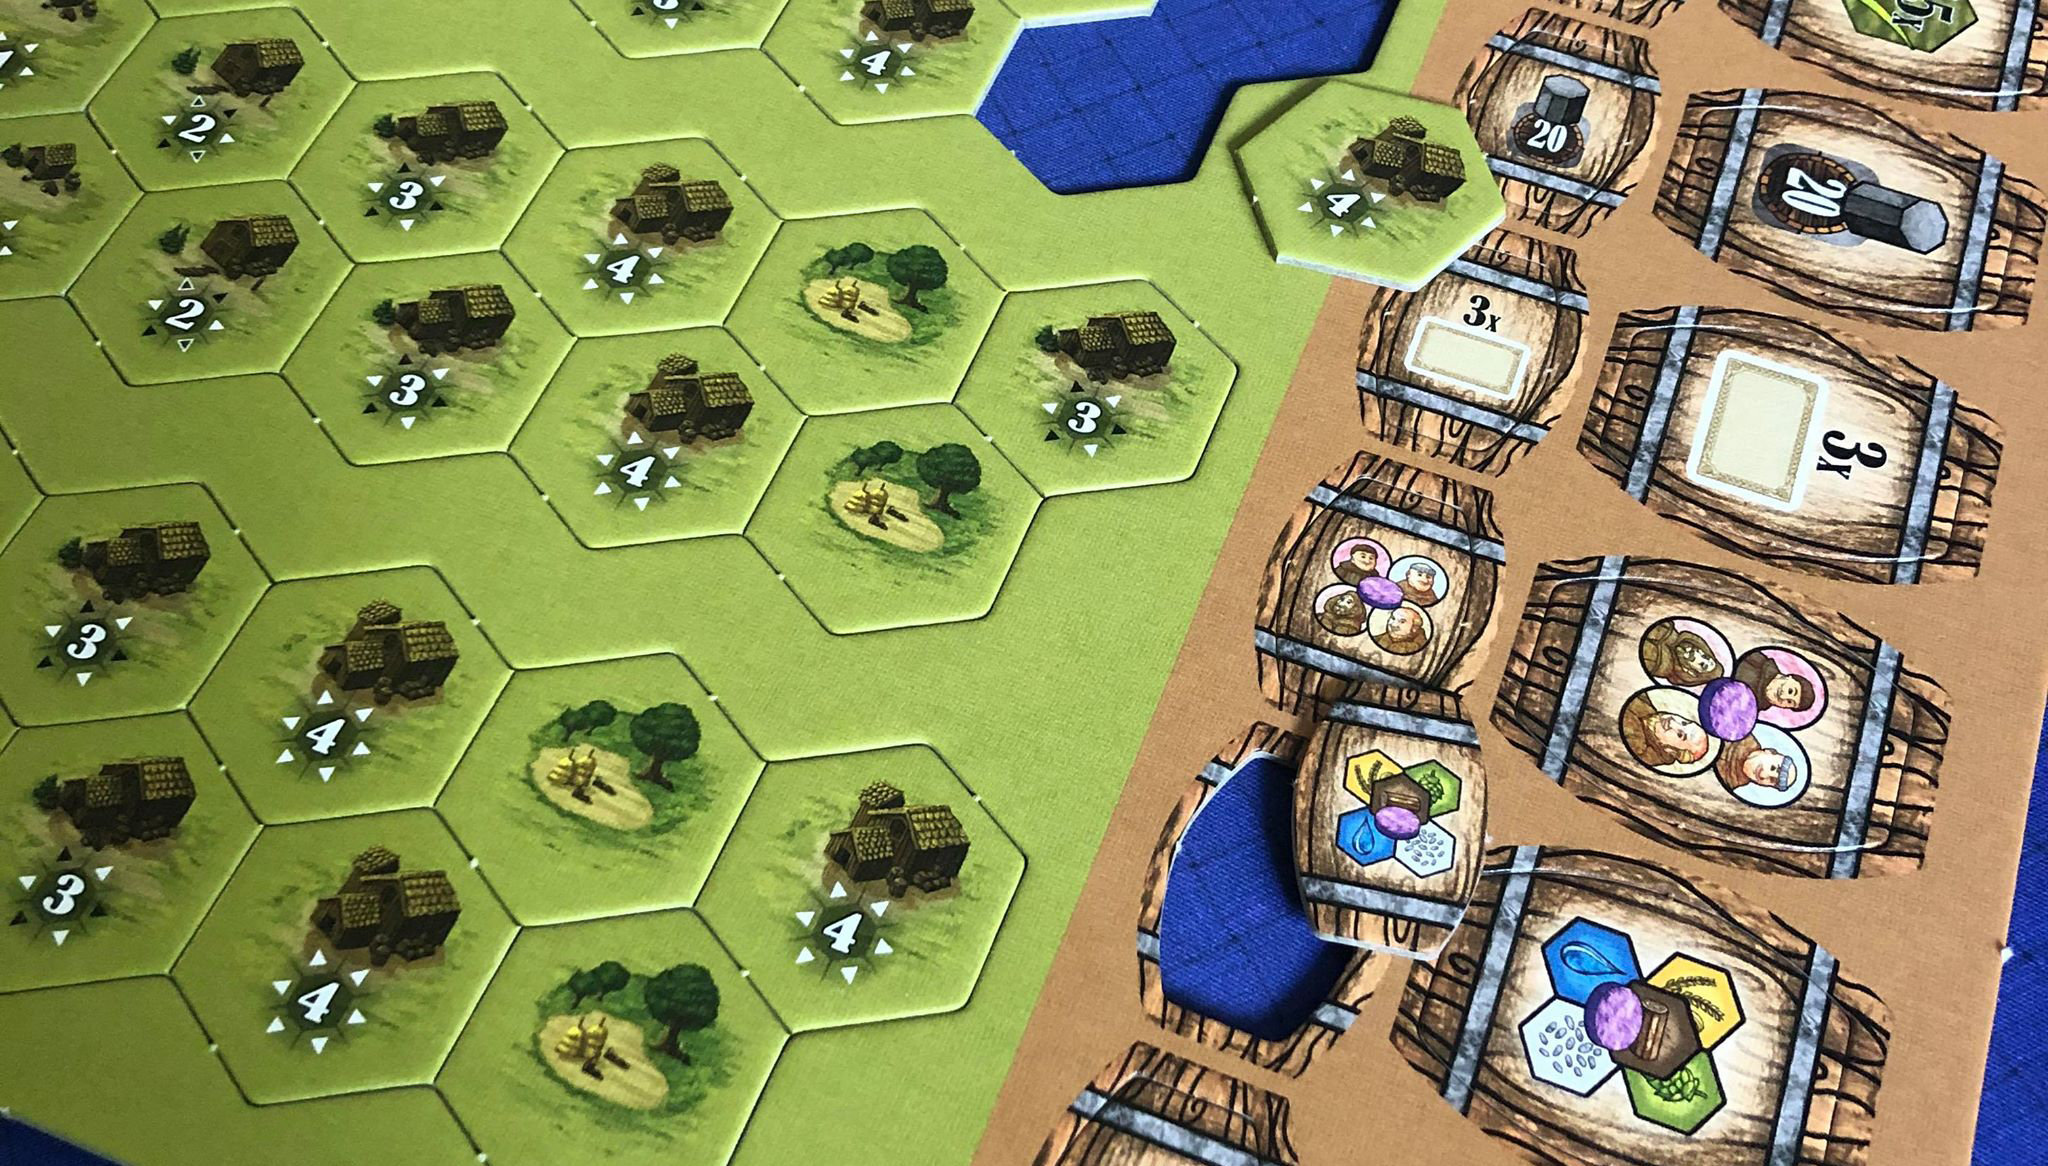
Arraial Punch Board (Pandasaurus Games)
Photo Credit: Danni Loe
Die-cutting started in the mid-19th century as a process used in shoe manufacturing for cutting leather. The die-cutting process can be done either on a flatbed or rotary press. The difference here is that while the rotary press method is quicker and more efficient, there’s a larger cost to it compared to flatbed die-cutting.
When it comes to printing, creating a cutting die was once a very manual process. It involved the use of jigsaws, pliers, tin snips and a lot of perspiration. The pressman would manually cut the shapes with a jigsaw and then painstakingly shape and cut the steel rule cutting blade with pliers to fit. The steel rules were then carefully hammered into place using a wooden mallet. This ‘die’ would then be pressed onto the printed sheet of paper or board to create the required cuts.
Stepping Into the Future
These days, the die-cutting process is largely an automated through CAD (Computer Aided Design). A laser cutter is used to create the channel in the wooden base for the die blade and the blade itself is shaped and cut using a specialized hydraulic machine press. From there, the pressman takes the shaped blades and seats them into their corresponding place on the board using a mallet.
From there, the finished dies are placed into the press where test runs are conducted to register the newly created die with the printed artwork. Once registration is complete, the press is all set to start die-cutting!

Hopefully this has (at least partially) demystified what goes on during the die cutting process. There is so much that goes into printing our favourite games that I felt I wanted to pull back the curtain a little, and shed some light on the different procedures and processes that give our games the table presence that knocks our socks off time and time again.
Up Next: Meeples!
Next time, we’ll peel back the layers of just exactly how wooden meeples are made. Until then, I hope you all stay happy and healthy! All the best,
Matt
PS Thanks to Danni Loe for the awesome punchboard pics. :D